Spring is repotting season. The days are getting longer, light intensity is increasing, and most houseplants are waking up from their winter slowdown. This is when they have the energy to handle the stress of root disturbance and establish in a new pot.
When to Repot
The best time is early to mid-spring, once you start seeing new growth emerging.
Signs a Plant Needs Repotting: Roots circling the bottom or growing out of drainage holes. Water running straight through without absorbing. The plant drying out significantly faster than usual. Visibly stunted growth despite adequate light and water.
Signs It Does Not: It is growing well and looks healthy. The soil still holds moisture appropriately. It was repotted within the last year. Some plants (hoyas, snake plants) actually prefer being slightly rootbound.
Choosing the Right Pot
Go up one size only: one to two inches larger in diameter. Oversizing means too much soil around the roots, which stays wet and leads to rot. Drainage holes are not optional.
The Repotting Process
Step 1: Prepare - Have your new pot, fresh soil mix, and a watering can ready.
Step 2: Remove the Plant - Water lightly the day before. Tip the pot sideways and gently work the plant free. Never pull by the stem.
Step 3: Inspect and Loosen Roots - Shake off excess old soil. Trim any dark, mushy roots with clean scissors. If roots are circling tightly, gently tease them apart.
Step 4: Add Soil and Place - Add a layer of fresh soil to the bottom. Set the plant in the center. Fill around the sides with fresh soil, pressing gently.
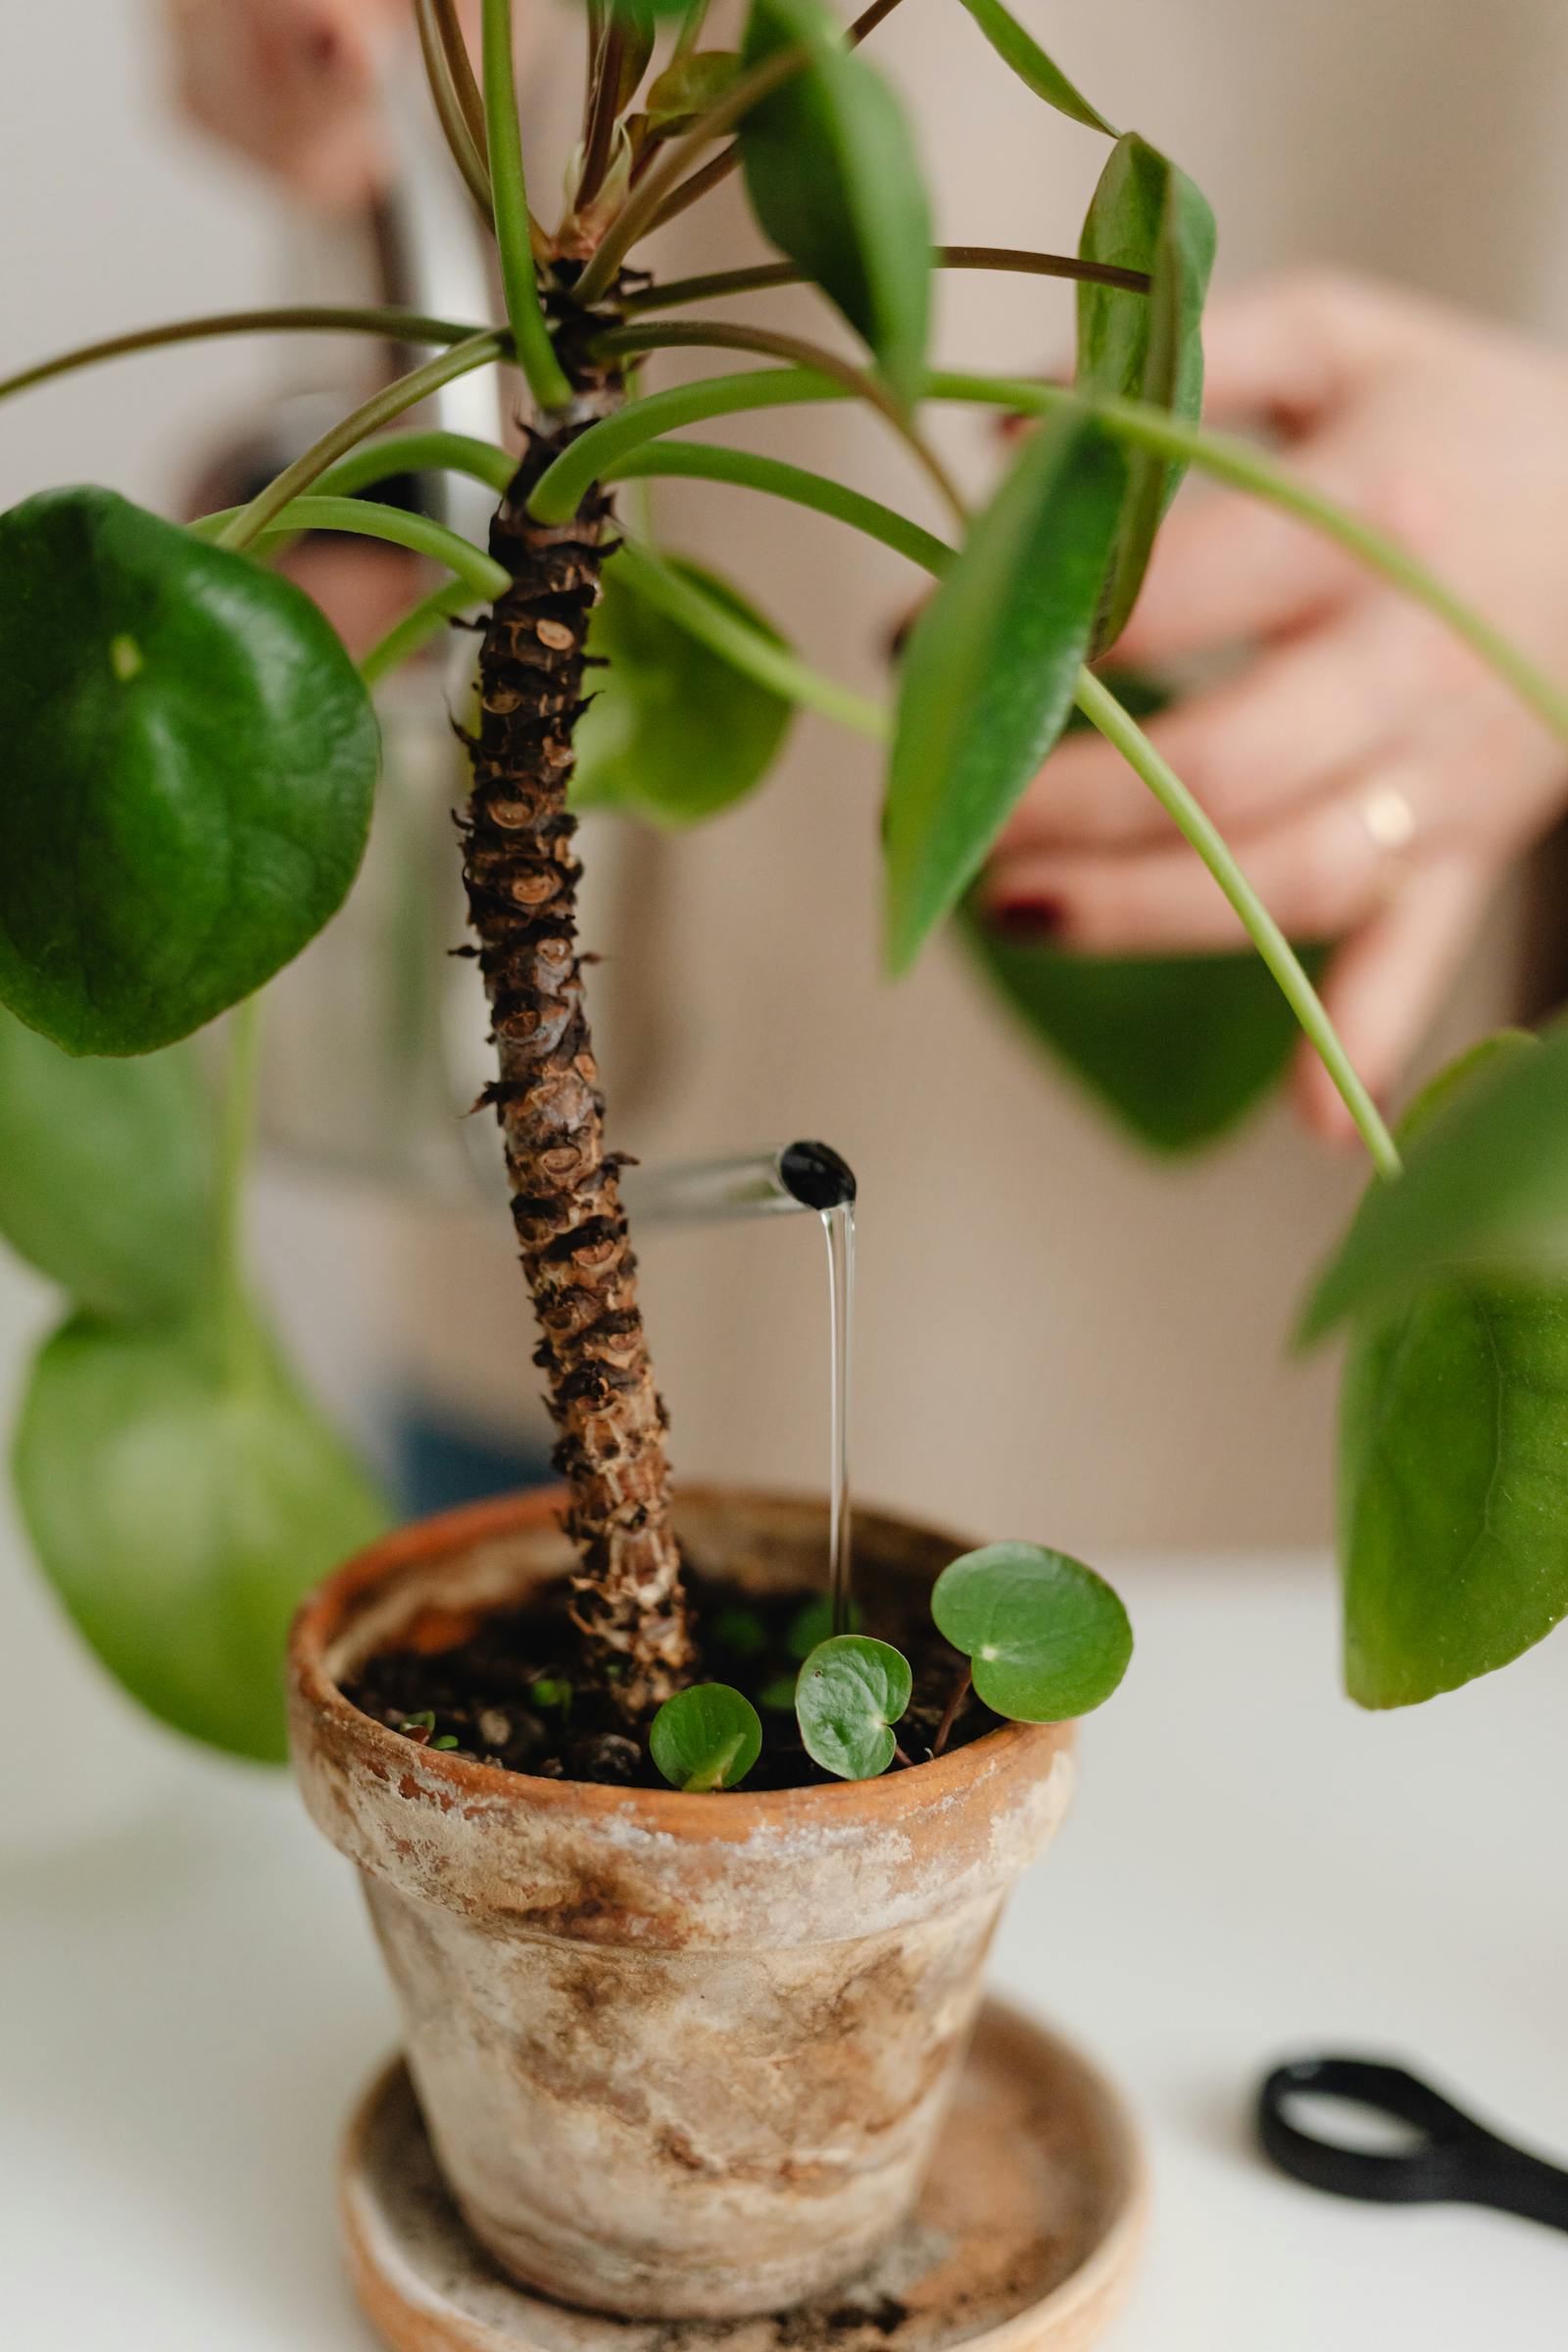
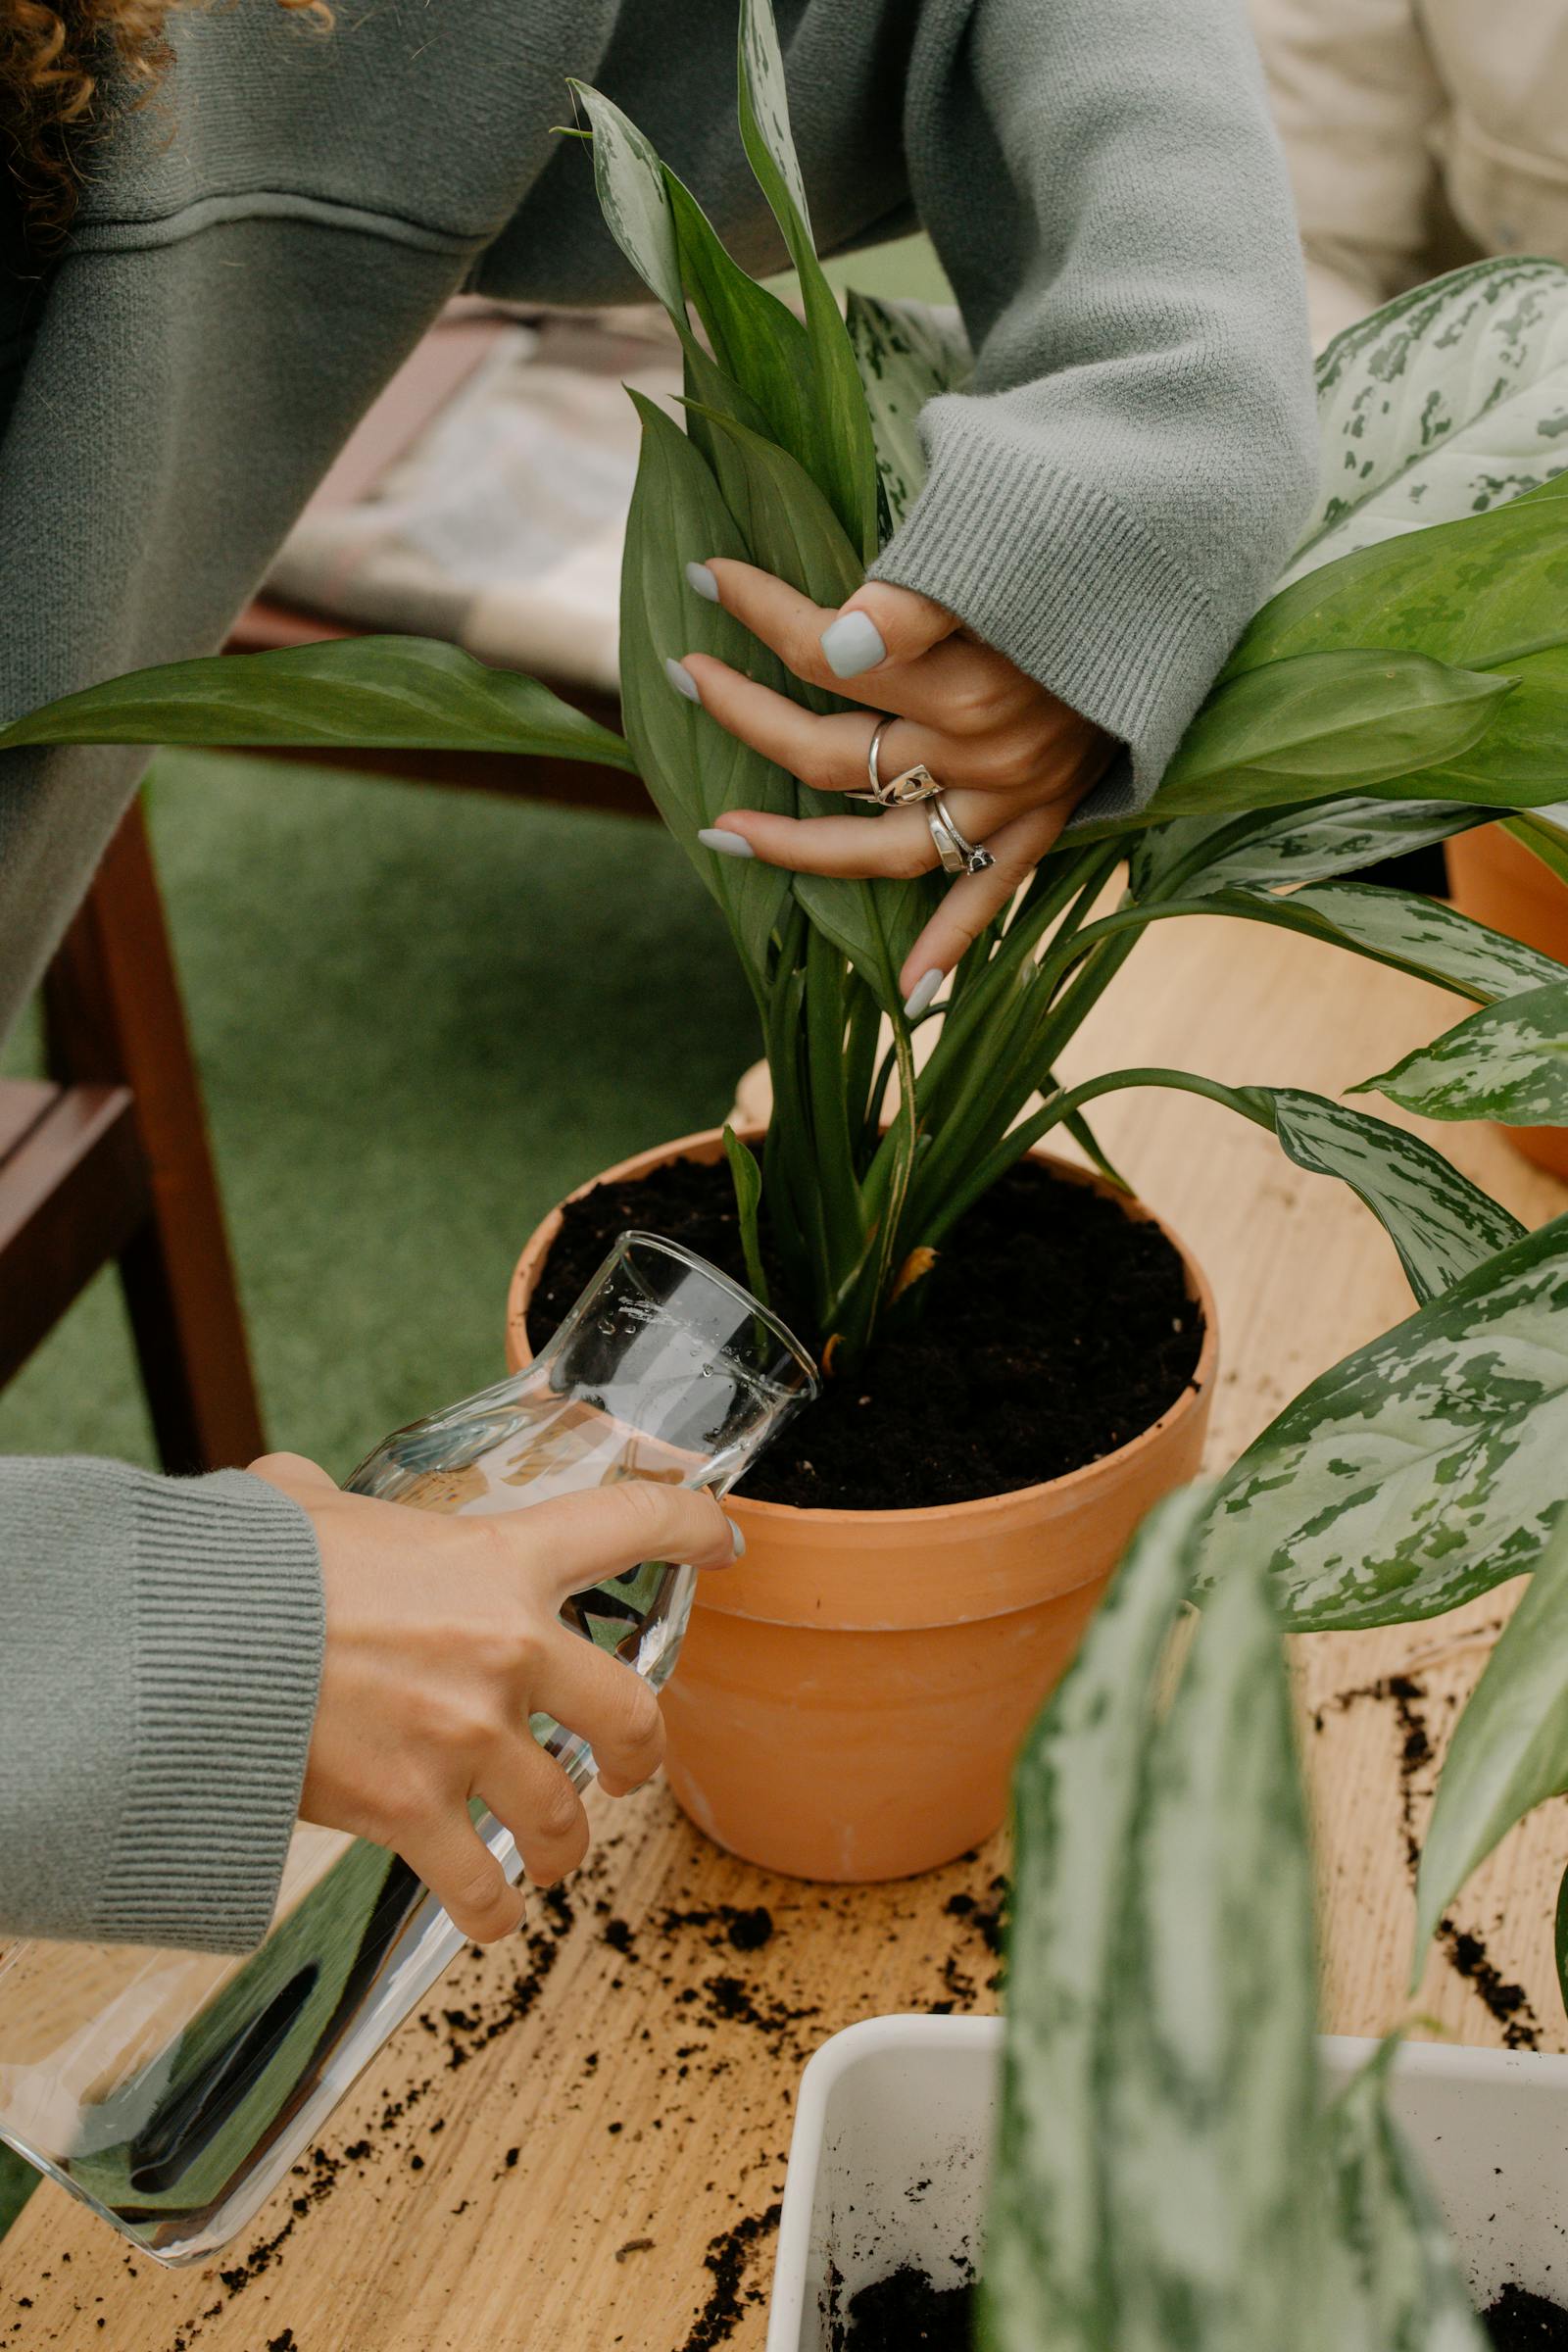
Step 5: Water and Settle - Water thoroughly until it runs from the drainage holes. This settles the soil around the roots.
After Repotting
Hold off on fertilizing for two to four weeks. Some plants may droop or lose a leaf or two. This is transplant stress and is usually temporary. Keep conditions consistent.
Repotting is not about bigger pots. It is about better conditions.
More Plant Notes
Rooting for more? Here's some more articles you might enjoy!